iv
Step 2. Set User Preferences
Note to ShutterBug V2.3 and above users: The Preferences pane has changed
from the instructions outlined here. Please see the 2.3 Release Notes at our support
board for details on the new preference pane and new image processing. For users of
version numbers before 2.3, please continue to follow the details outlined here.
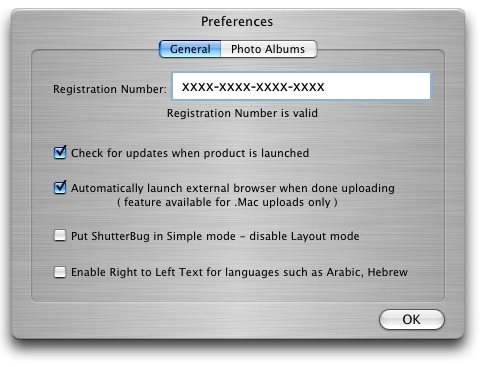
• Go to ShutterBug-->Preferences from the Main Menu.
• Under the General tab, make sure your registration number reads: Registration
Number is Valid.
• Check off the first box under the General tab. Only check the second box, if you
are exporting to a .Mac account; otherwise just leave it blank.
• Leave the third box blank. Check the fourth box only if applicable to your
language or the language that you plan on writing the text content in (requires
OS X 10.4).
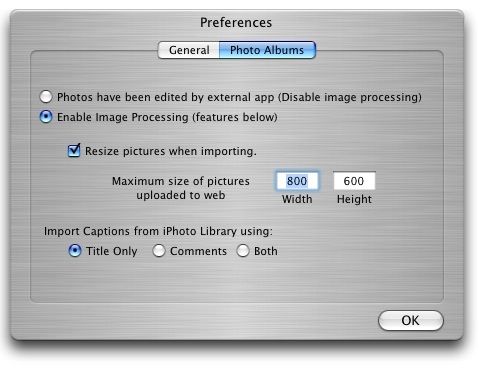
• Click the Photo Albums tab. Select the radio button beside Enable Image
Processing.
• Check the Resize pictures check box and input a value of 800 for the Width and
600 for the Height (in pixels).
• If you plan to import photos from your iPhoto library, select the desired iPhoto
options: import the photo Title Only, import the photo Comments only, or import
Both the title and comments.
• Click the OK button to save your preferences and return to the main content window.
You are now all set to import your photos.
───────────────────────────────────────